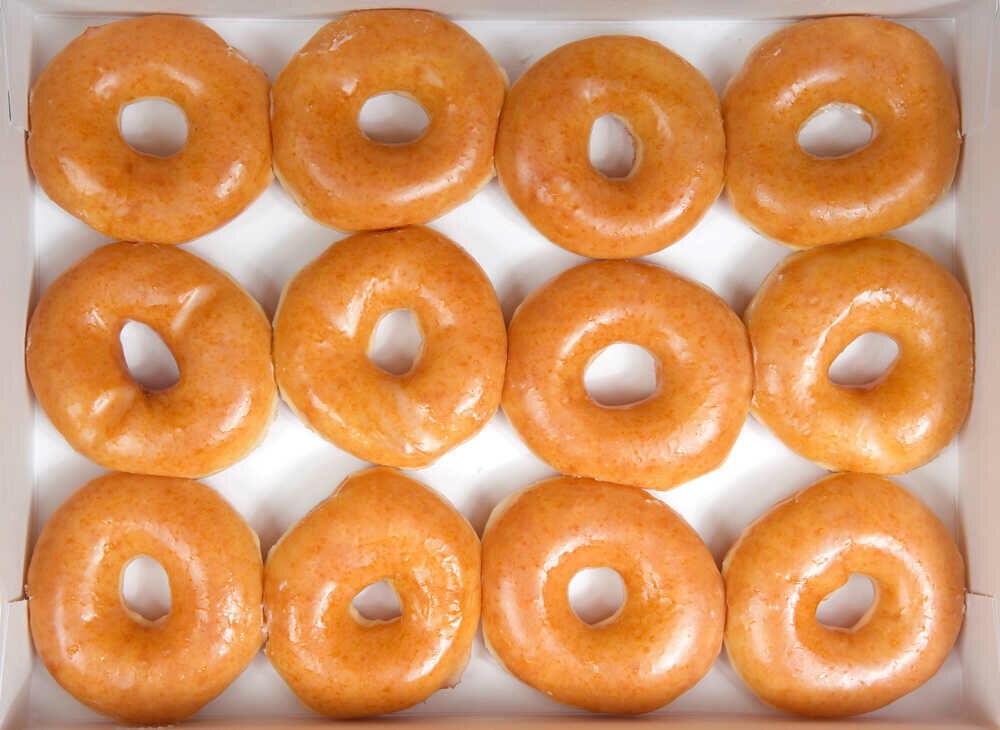
No need to worry about whether the «hot light» is on when you can make everyone’s favorite donuts fresh in your very own kitchen!
These sweet breakfast treats taste so much like the original, people won’t believe you made them at home.
Ingredients
Donuts:
• 2 1/4 teaspoon active dry yeast
• 1/2 cup warm water, 110 degrees F
• 1/4 cup granulated sugar, divided
• 1/4 cup evaporated milk, warmed to 110 degrees F
• 1/2 teaspoon salt • 1/4 cup vegetable shortening, at room temperature
• 1 large egg
• 1 egg yolk
• 1/2 teaspoon vanilla extract
• 2 1/2 cups all-purpose flour, then more as needed (scooped and leveled)
• 3-4 cups vegetable shortening, for frying Glaze:
• 2 tablespoons unsalted butter, melted
• 1 1/3 cups powdered sugar
• 1 pinch salt
• 2 teaspoons evaporated milk
• 1/2 teaspoon vanilla extract
• 3-4 teaspoon hot water
Glaze:
• 2 tablespoons unsalted butter, melted
• 1 1/3 cups powdered sugar
• 1 pinch salt
• 2 teaspoons evaporated milk
• 1/2 teaspoon vanilla extract
• 3-4 teaspoon hot water
Directions
Step 1 – In the bowl of an electric stand mixer, whisk together yeast, warm water, and 1/2 teaspoons of the sugar. Let rest 5-10 minutes. Add in evaporated milk, remaining granulated sugar (3 tablespoons + 2 1/2 teaspoons), salt, 1/4 cup shortening, egg, egg yolk, and vanilla.
Step 2 – Add half of the flour and set mixer with the whisk attachment and blend until smooth. Switch mixer to hook attachment, slowly add remaining flour, and knead on low speed until smooth and elastic about 4 – 5 minutes, adding additional flour as needed.
Step 3 – Transfer dough to a lightly oiled bowl, cover with plastic wrap, and let rise in a warm place until double in size, about 1 1/2 hours.
Step 4 – Punch dough down and roll into an even layer onto a floured surface to slightly less than 1/2-inch thickness.
Step 5 – Cut into doughnut shapes using a doughnut cutter or two round circle cutters (one large and one small for holes). Cover and let rise until doubled, about 30-40 minutes.
Step 6 – Heat shortening in a cast iron dutch oven to 360 degrees F (don’t walk away from oil while preheating and don’t let it get above 375 degrees F, remove from heat and reduce heat as needed).
Step 7 – Meanwhile, prepare the glaze by mixing together all of the glaze ingredients in a shallow dish (don’t add too much water, you’ll be dipping warm doughnuts in the glaze so you don’t want it to be runny, fairly thick is good).
Step 8 – Carefully transfer doughnuts to oil (try 3 at a time) and fry until golden on bottom, then using a wooden chopstick, flip to the opposite side and fry opposite side until golden brown.
Step 9 – Transfer to a wire rack and allow to cool 1-2 minutes then dip the top half in glaze while still warm and return to wire rack and allow the glaze to set at room temperature. Best served warm. Once cool, reheat in the microwave for 5-10 seconds if desired.
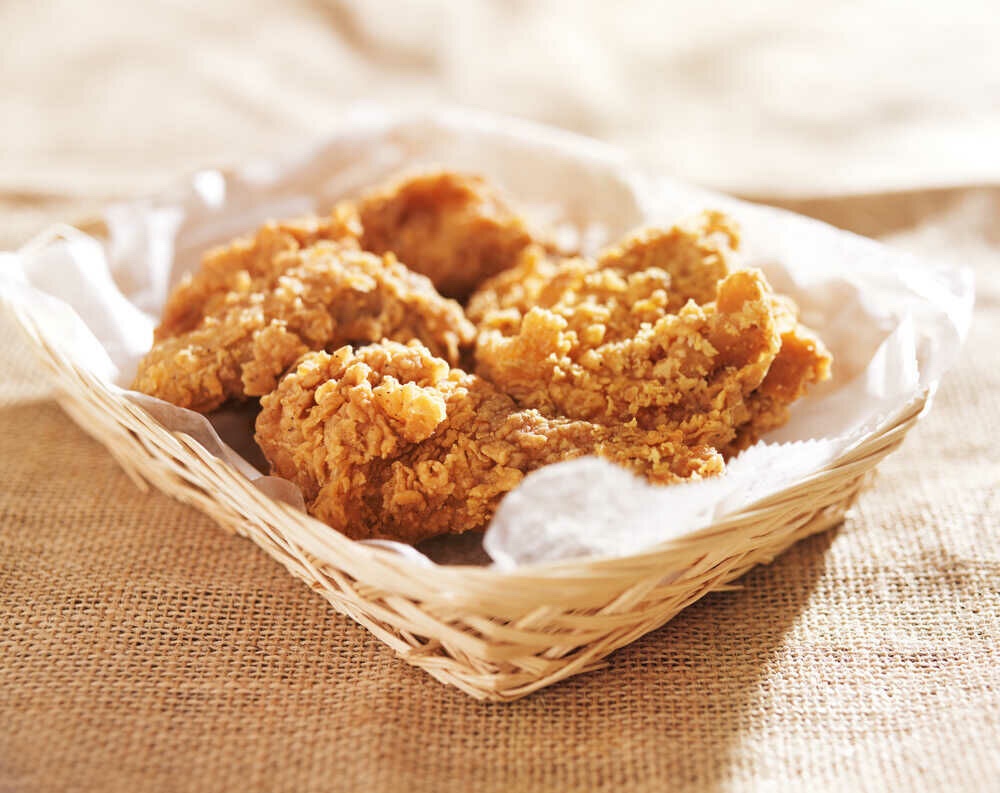
You can’t beat the smell or taste of freshly fried chicken! This recipe will give you chicken that is perfectly crispy on the outside, yet tender and juicy on the inside. Serve with mashed potatoes, a side salad, or roasted brussels sprouts!
Ingredients
• 2 pounds chicken wings chicken legs, thighs, or chicken breast
• 2 cups buttermilk
• 2 eggs
• 1 teaspoon paprika
• 1 teaspoon hot sauce
• 1 teaspoon salt or to taste
• 1 teaspoon pepper or to taste
• 2 teaspoons baking powder
• 1 1/2 teaspoon baking soda
• 2 cups all-purpose flour
• vegetable oil for frying
Directions
Step 1 – Prepare the chicken: Wash the chicken and pat it dry with paper towels.
Step 2 – Prepare the buttermilk mixture and flour: To a large bowl add the buttermilk, eggs, paprika, hot sauce, salt, pepper and whisk until combined. Whisk in the baking powder and baking soda. In a shallow dish add the flour.
Step 3 – Dredge the chicken: First, dredge the chicken in the flour on all sides, then dip into the buttermilk mixture and make sure it’s coated well all around. Dredge the chicken in flour one more time, then place the chicken on a plate or rack, and repeat with all chicken pieces. If your flour gets too dirty just throw it out and start with fresh flour.
Step 4 – Set up frying station: Add enough oil to a deep skillet or Dutch oven, at least an inch deep, and heat over medium-high heat until it reaches 350 F degrees. It should take about 15 minutes.
Step 5 – Fry the chicken: Place a few pieces of chicken in the skillet but make sure they do not touch, you want about 1-inch space in between them. For 1 lb of chicken, you will have to do this in 2 batches. Fry on the first side for about 7 minutes or until golden brown, then flip the chicken and cook for another 3 to 5 minutes on the second side. The chicken is done when it reaches an internal temperature of 165 F degrees or a total of 12 to 15 minutes.
Step 6 – Transfer the chicken to a plate lined with paper towels to soak up some of the oil. Cool for about 10 minutes before serving.
Too many of us have forgotten how to make things from scratch and never experience the joy that comes with making a special meal with local ingredients.
From new twists on old favorites to adventurous new recipes, re-ignite your passion for food and enjoy the fruits of your labor that will nourish you! All Food & Drink books are 35% off— there’s never been a better time to try something new.
Selected as a Best Cookbook of the Year by The Guardian, The Independent, Stylist and Daily Mail
“Towpath is one of the reasons I live in London.”—Keira Knightley
“Dive in and cook up a Towpath feast for your friends and family.”—Fergus and Margot Henderson
Inspired recipes from the beloved East London cafe, along with stories capturing the ebb and flow of community, food, and the seasons
A lot has changed since Towpath first rolled up its shutters 10 years ago on the Regent’s Canal in Hackney and everything but the toasted cheese sandwich was cooked from home across the bridge. And a lot hasn’t.
It is still as much a social experiment as a unique and beloved eatery.
What happens when seasonality means you close every year in November, because England’s cold, dark winters are simply inhospitable to hospitality from a little perch beside a shallow, manmade waterway that snakes through East London?
What if you don’t offer takeaway coffees in the hopes that people will decide to stay awhile and watch the coots skittering across the water?
If you don’t have a phone or a website, because you’d rather people just show up like (hungry) kids at a playground?
Towpath is a collection of recipes, stories and photographs capturing the vibrant cafe’s food, community and place throughout the arc of its season—beginning just before the first breath of spring, through the dog days of summer and culminating—with fireworks!—before its painted shutters are rolled down again for winter.
The New Wildcrafted Cuisine Exploring the Exotic Gastronomy of Local Terroir
With detailed recipes for ferments, infusions, spices, and other preparations
Wild foods are increasingly popular, as evidenced by the number of new books about identifying plants and foraging ingredients, as well as those written by chefs about culinary creations that incorporate wild ingredients (Noma, Faviken, Quay, Manreza, et al.). The New Wildcrafted Cuisine, however, goes well beyond both of these genres to deeply explore the flavors of local terroir, combining the research and knowledge of plants and landscape that chefs often lack with the fascinating and innovative techniques of a master food preserver and self-described “culinary alchemist.”
Author Pascal Baudar views his home terrain of southern California (mountain, desert, chaparral, and seashore) as a culinary playground, full of wild plants and other edible and delicious foods (even insects) that once were gathered and used by native peoples but that have only recently begun to be re-explored and appreciated.
For instance, he uses various barks to make smoked vinegars, and combines ants, plants, and insect sugar to brew primitive beers. Stems of aromatic plants are used to make skewers. Selected rocks become grinding stones, griddles, or plates. Even fallen leaves and other natural materials from the forest floor can be utilized to impart a truly local flavor to meats and vegetables, one that captures and expresses the essence of season and place.
This beautifully photographed book offers up dozens of creative recipes and instructions for preparing a pantry full of preserved foods, including Pickled Acorns, White Sage-Lime Cider, Wild Kimchi Spice, Currant Capers, Infused Salts with Wild Herbs, Pine Needles Vinegar, and many more. And though the author’s own palette of wild foods are mostly common to southern California, readers everywhere can apply Baudar’s deep foraging wisdom and experience to explore their own bioregions and find an astonishing array of plants and other materials that can be used in their own kitchens.
The New Wildcrafted Cuisine is an extraordinary book by a passionate and committed student of nature, one that will inspire both chefs and adventurous eaters to get creative with their own local landscapes.
Year-Round Indoor Salad Gardening How to Grow Nutrient-Dense, Soil-Sprouted Greens in Less Than 10 days
The Low-Tech, No-Grow-Lights Approach to Abundant Harvest
Year-Round Indoor Salad Gardening offers good news: with nothing more than a cupboard and a windowsill, you can grow all the fresh salad greens you need for the winter months (or throughout the entire year) with no lights, no pumps, and no greenhouse.
Longtime gardener Peter Burke was tired of the growing season ending with the first frost, but due to his busy work schedule and family life, didn’t have the time or interest in high-input grow lights or greenhouses.
Most techniques for growing what are commonly referred to as “microgreens” left him feeling overwhelmed and uninterested. There had to be a simpler way to grow greens for his family indoors.
After some research and diligent experimenting, Burke discovered he was right—there was a way! And it was even easier than he ever could have hoped, and the greens more nutrient packed.
He didn’t even need a south-facing window, and he already had most of the needed supplies just sitting in his pantry.
The result: healthy, homegrown salad greens at a fraction of the cost of buying them at the market. The secret: start them in the dark.
Growing “Soil Sprouts”—Burke’s own descriptive term for sprouted seeds grown in soil as opposed to in jars—employs a method that encourages a long stem without expansive roots, and provides delicious salad greens in just seven to ten days, way earlier than any other method, with much less work.
Indeed, of all the ways to grow immature greens, this is the easiest and most productive technique.
Forget about grow lights and heat lamps!
This book is a revolution and inviting guide for both first-time and experienced gardeners in rural or urban environments.
All you need is a windowsill or two. In fact, Burke has grown up to six pounds of greens per day using just the windowsills in his kitchen!
Year-Round Indoor Salad Gardening offers detailed step-by-step instructions to mastering this method (hint: it’s impossible not to succeed, it’s so easy!), tools and accessories to have on hand, seeds and greens varieties, soil and compost, trays and planters, shelving, harvest and storage, recipes, scaling up to serve local markets, and much more.


Debe estar conectado para enviar un comentario.